
February 24th, 2026
Homemade Fruit Roll-Ups (Without a Dehydrator)
If you turn over a package of store-bought fruit snacks, you’ll often see a long list of ingredients that barely resemble fruit. Artificial colors like Red 40 and Yellow 5. High fructose corn syrup. “Natural flavors.” Preservatives to extend shelf life.
They’re marketed as a fruit snack, but they’re actually candy.
All children love sweet flavors. That’s completely normal. The issue is that their developing gut, brain, and immune system are being exposed to ingredients that don’t support long-term health.
This is why I love this recipe.
It gives your child the fun, chewy, sweet experience they’re looking for without the dyes, emulsifiers, or code words.
It’s simply fruit in another form.
For kids with texture sensitivities, this can be especially helpful. Some children struggle to bite into strawberries or deal with seeds and pulp. But blend that same fruit until smooth, and suddenly it’s completely manageable. You’re meeting them where they are without compromising nutrition.
Why Homemade Is Different
When you make fruit roll-ups at home, you control everything.
There are no artificial dyes because real fruit already has color.
There are no flavor enhancers because real fruit already has flavor.
There are no preservatives because you’re not trying to make it last a year on a shelf.
You’re simply concentrating fruit into a portable, lunch-friendly snack.
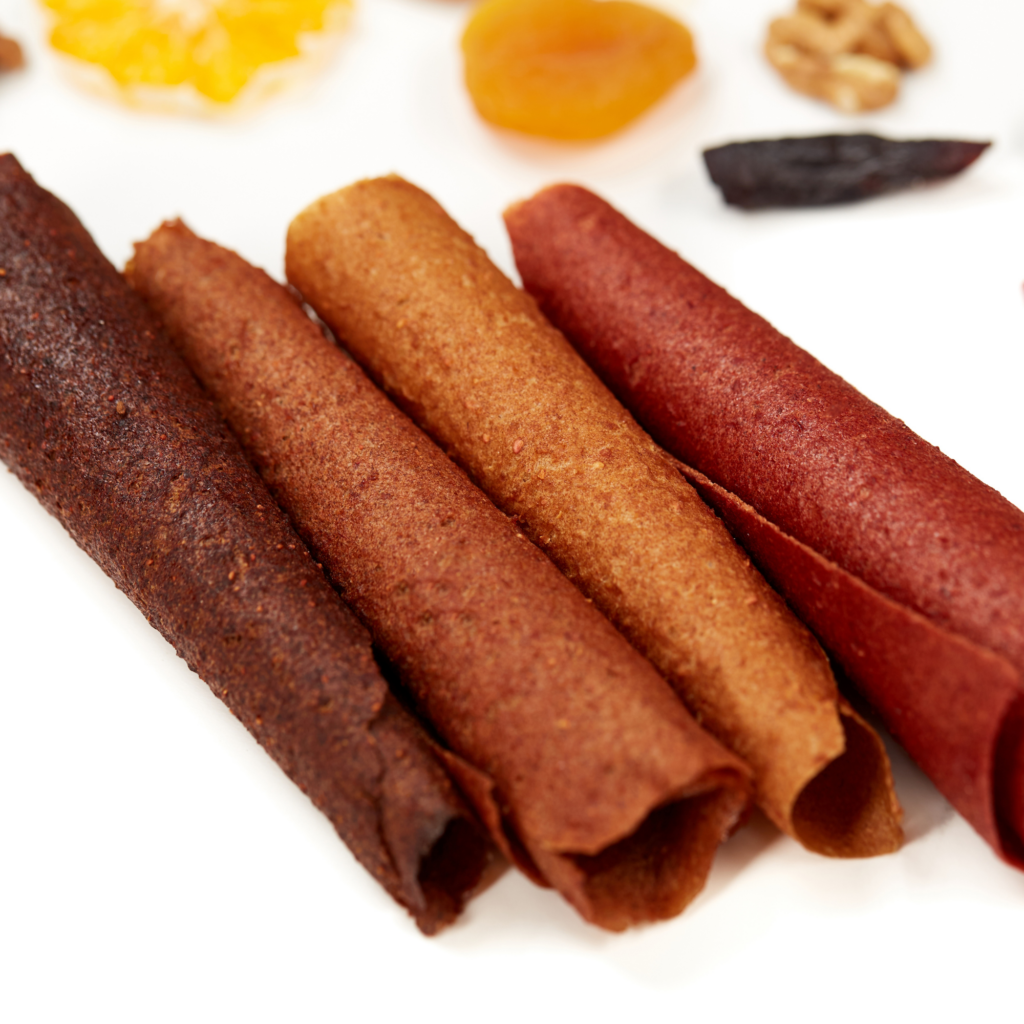
Homemade Fruit Roll-Ups
(No Dehydrator Needed)
Ingredients
- 5 cups fresh fruit (strawberries, raspberries, peaches, apricots, mango, blueberries — or any combination)
- Silicone baking mat (highly recommended)
- Baking sheet
- Fine mesh strainer (optional, if removing seeds)
Instructions
Preheat your oven to 200°F.
Blend the fruit until completely smooth. You will need about five cups of fruit to fill one baking sheet.
If your child has texture sensitivities and the fruit contains seeds (like strawberries or raspberries), pour the puree through a fine mesh strainer and stir until the smooth mixture passes through.
Line a baking sheet with a silicone mat. This is key for easy peeling later.
Pour the fruit puree onto the mat and spread it evenly with a spatula. The most important part is thickness. Leave the mixture at least ¼ inch thick everywhere, especially around the edges. If the edges are too thin, they will dry out and become brittle before the center is done.
Place in the oven and bake for 4–6 hours. The timing depends on your oven and the thickness of your puree. The fruit leather is ready when it is no longer sticky in the center and feels dry to the touch.
Once fully dried, peel it off, cut into strips with scissors, and roll in parchment or freezer paper.
Store in an airtight container for up to one month.